Four Step Guide to the Installation of your Driveway
Step 1 – Preparation of the area
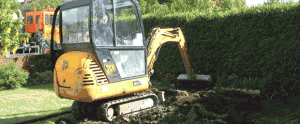
This usually (depending on the area) takes approximately 2-3 days. All rubble is removed immediately from the site on our wagons relieving the need for skips. The majority of this stage is carried out using our own mini diggers if the area is accessible. An approximate depth of 200mm is removed and 100mm of hardcore sub-base installed and vibration compacted. A very important stage of the driveway process is the installation of the drainage and setting the levels and fall of the driveway.
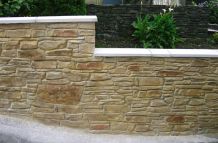
Depending on the circumstances of the area an Aco channel drain may be required to remove any surface water, these are fed into drain points. As part of the package offer, we replace all old hoppers and manhole covers. All works are included in the price quoted unless stated otherwise. To offer the complete service we also employ bricklayers who in this stage will carry out the installation of any walls and steps required. Prior to laying the concrete a wall gel is applied to any surrounding brickwork to prevent any marking from the laying of the concrete.
2. Laying Of The Concrete
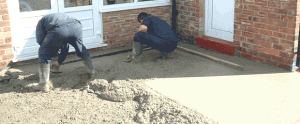
Once the ground works are complete it is time to lay the concrete, this normally takes place the day after step one is completed. The concrete is supplied by Minimix Northeast Ltd who is our parent company and provide us with a specifically designed print mix containing C40 fibre re-enforced concrete. Colouring and Printing takes place on the same day as the laying of the concrete. Beware that the true colour of your driveway cannot be seen till completion of all stages.
From this point the concrete cannot be walked on till completion of the next stage, access to your property will always be arranged and the provision of walk boards is included.
3. The Cleaning Process
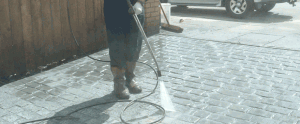
Due to the nature of works in this stage the whole area is cleaned down using a special wash agent and a high pressure jet wash. At this time expansion joints and crack control joints are also installed. After this stage you are able to walk on the concrete.
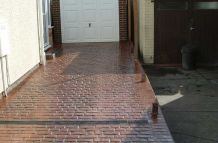
4. A Beautiful Sealed Driveway
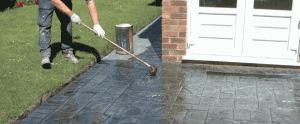
This is the final stage of your driveway process. The concrete area must be left for a minimum of two days drying out period before it can be sealed. This is when the true colour of your driveway can be seen. The sealer can be applied using a brush or roller but only in dry conditions.
Once the area is sealed it can be walked on within two hours, but we advise that vehicles remain off for twenty four hours. All our sealer contains a grip system and it is advised that the area is re-sealed a minimum of every two years to protect the drive from oil stains and weeds.